What Are The Basics Of Roof Installation?
If you've been considering a new roof installation or replacement, it's essential to be familiar with the basics. Whether you'll hire a professional or planning to handle the installation yourself, learning about the procedure and steps involved will help ensure proper installation.
Before your roofing installation starts, it's best to obtain a few roofing quotes from at least four licensed professionals that offer roof installation services in your area, to get the best price. If you know what to anticipate with the installation project, you'll have a clear grasp of what the procedure is all about. Here’s a glimpse of the basics to help you learn all you need to know

Removal Of Old Roofing
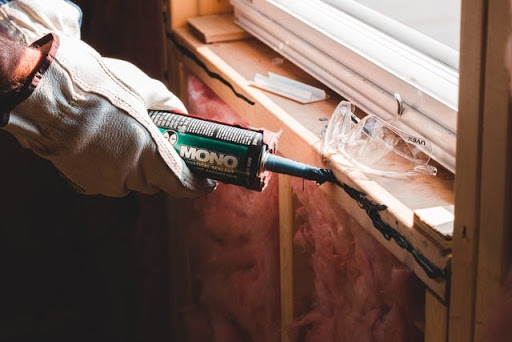
The worn-out or old roofing requires removal before the placement of the new material. Some homeowners decide to install several layers on top of one another to save time on the project. However, adding several layers can lead to premature failure of the roof. If you're eager to achieve ideal results in your roofing project, it’s crucial to remove the old roof up to the sheathing layer. There are so many places to go and find out about a new roof like roof replacement suffolk county, they can help with removal of the old and replacing it with the new.
Assessing The Roof
After the removal, an assessment of the roof sheathing condition would be done. The sheathing comprises flat panels providing structural support and a base on which materials such as the shingles will attach. Generally, a professional should inspect for any damp areas or trouble spots needing replacement. If you want to learn more about roofing installation, you can learn more from any reliable provider including roof installation Nova company and others like them.
Ice Protection
Those who reside in areas prone to ice formation should install an ice and water barrier around the roof. It goes around the edges, especially at the very base edge that's prone to ice accumulation. The adhesive underlayment sticks to the sheathing and is secured in place with nails for better strength and stability. Roof Replacement Central Coast can do the job you need to be done.

Placement Of Drip Edge
The drip edge for the roofing has two distinct parts during the installation. On the lower section, it’s in place before the underlayment. Meanwhile, the flanks of the roof are in place after. You can install the drip edge throughout the lower part of the house over the ice and water barrier.
After installing the underlayment, the professional will cover it with a drip edge on the sides in the same manner on the bottom. It helps prevent water from flowing over the edge of the siding and back underneath it.
Installation Of Roofing Underlayment
The roof underlayment that’s usually felt paper or synthetic material undergoes saturation in water-resistant materials. If you want an effective form of protection for the roofing in your home, it might be best to invest in good quality synthetic underlayment as a convenient and durable choice.
Roll the underlayment along the roof's edge and secure it in place with cap roof nails. Another layer of roofing underlayment is rolled and secured in place. You can double the underlayment segment to the roof's peak and place a row straddling the mount so it caps off on both sides of the roof at once.
Valley Flashing
If necessary, apply valley flashing along the areas where two roof planes converge. In most cases, you can nail the valley flashing to the roofing deck, and a roofing caulk is applied to ensure a proper seal.
Applying Tab Shingles
During the placement of the tab shingles, you can start at the eaves and move towards the peak. In sites where the roof vents are present, install them as the shingles move towards the peak.
Applying Flashing In Potential Leak Spots
Applying flashing on all areas prone to leaks such as around skylights, stack vents, or against the chimney is important to provide security. The flashing is usually part of the roofing installation, which occurs as rows of shingles move upward on the roof deck.
Installing Ridge Vent
As a constant type of vent through the roof's peak, a vent helps promote air movement in the attic and is crucial in releasing warm air and thwarting the formation of ice dams. The installation of a ridge vent is a good addition when re-roofing a house.
Cleaning Up And Inspection
After completing the roofing material installation, don't forget the cleanup and hauling away of debris. The installation will undergo inspection and approval by a building inspector.
Conclusion
If you're constructing a new home or taking out a worn-out roof, it can be a large-scale project requiring time, effort, and a budget. The roofing installation can be a complex process, but if you're planning to replace your old roof with a new one, it's best to know the basics of roof installation.
Understanding the process will help ensure the proper installation of a roof that'll last for many years.